
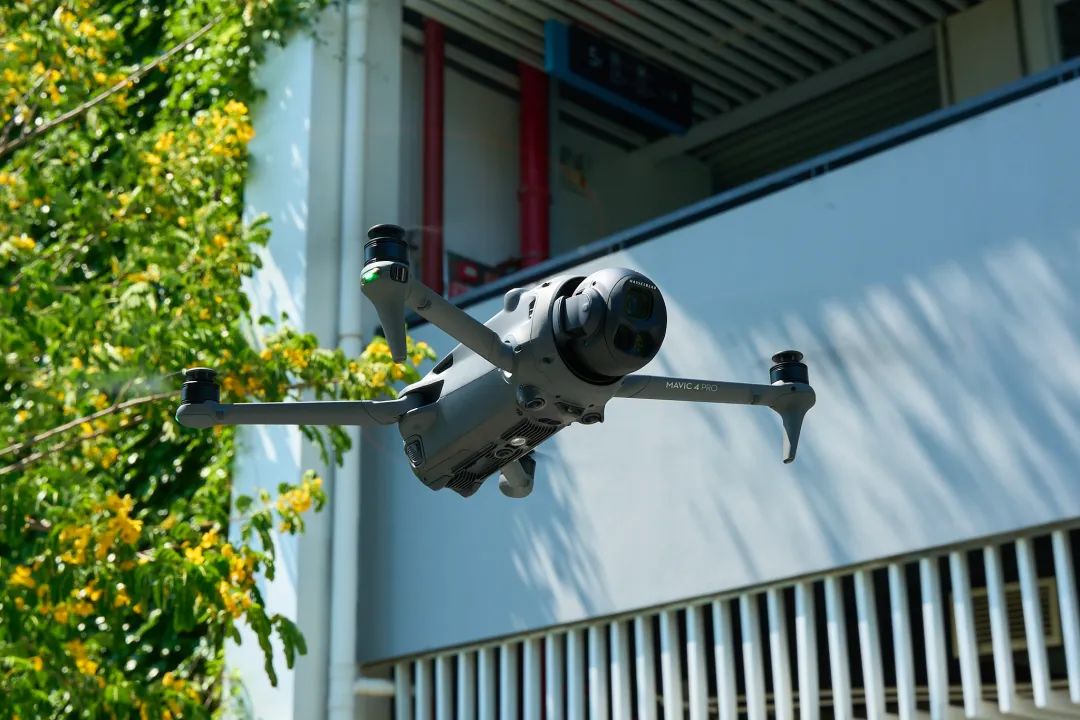
Mavic family design language
More professional, yet also “heavier”
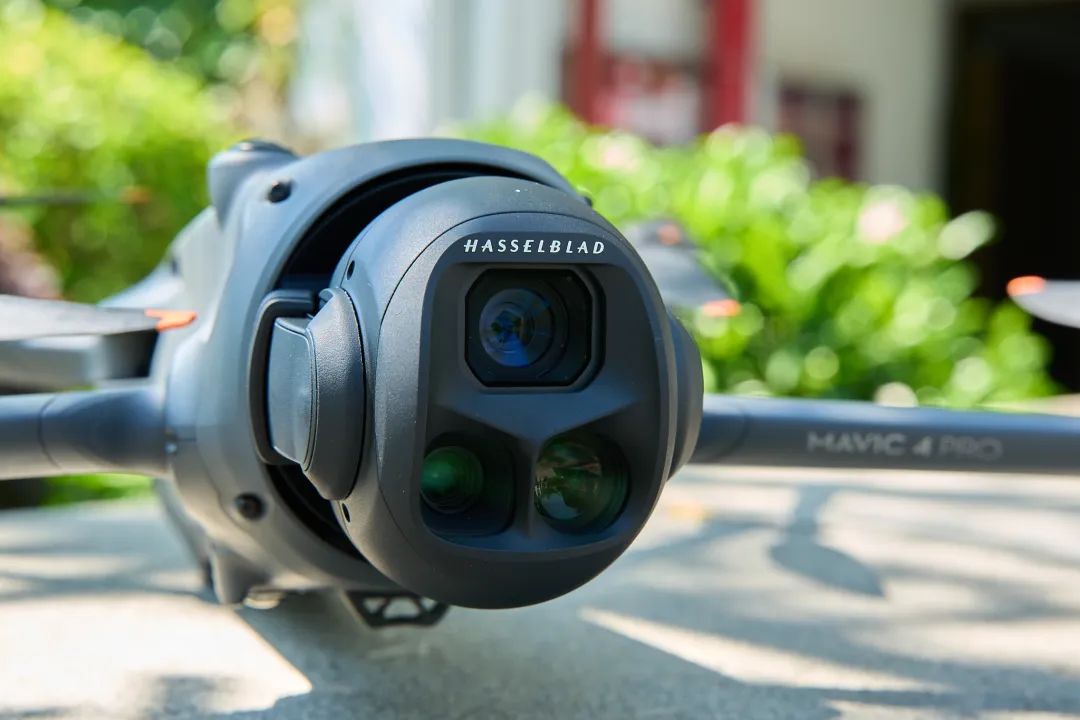

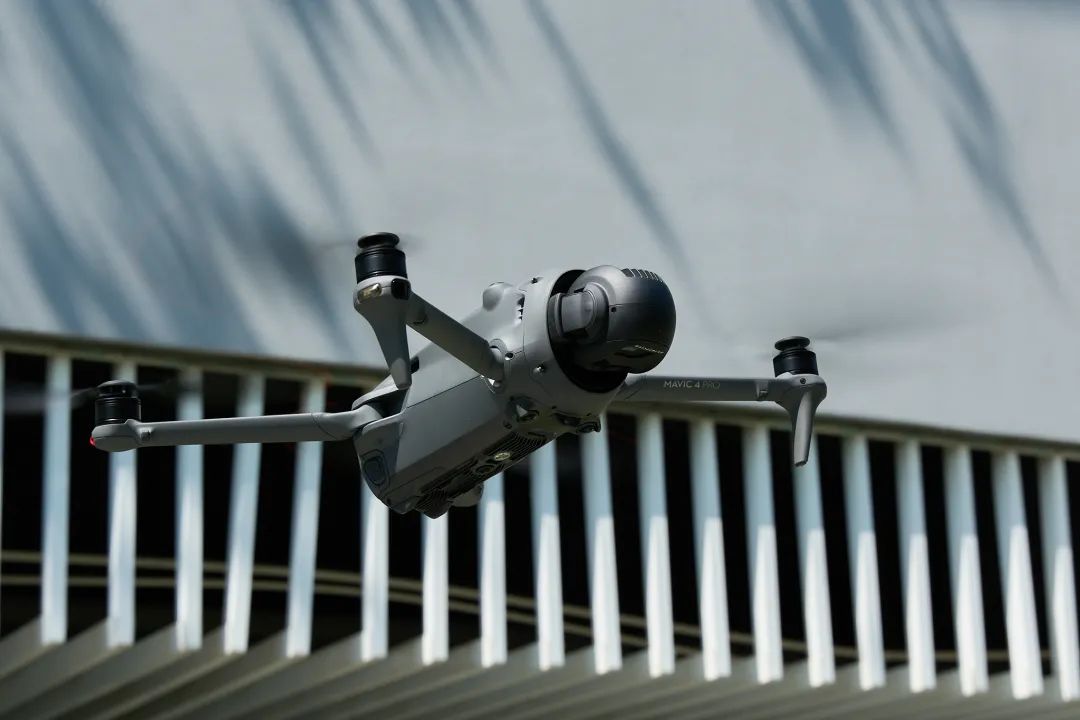
A flying “M43” camera


The external features are impressive too, living up to its flagship status.


Summary: The top choice for professional aerial photography?
1.The three cameras are of exceptionally high quality, delivering impeccable image performance.
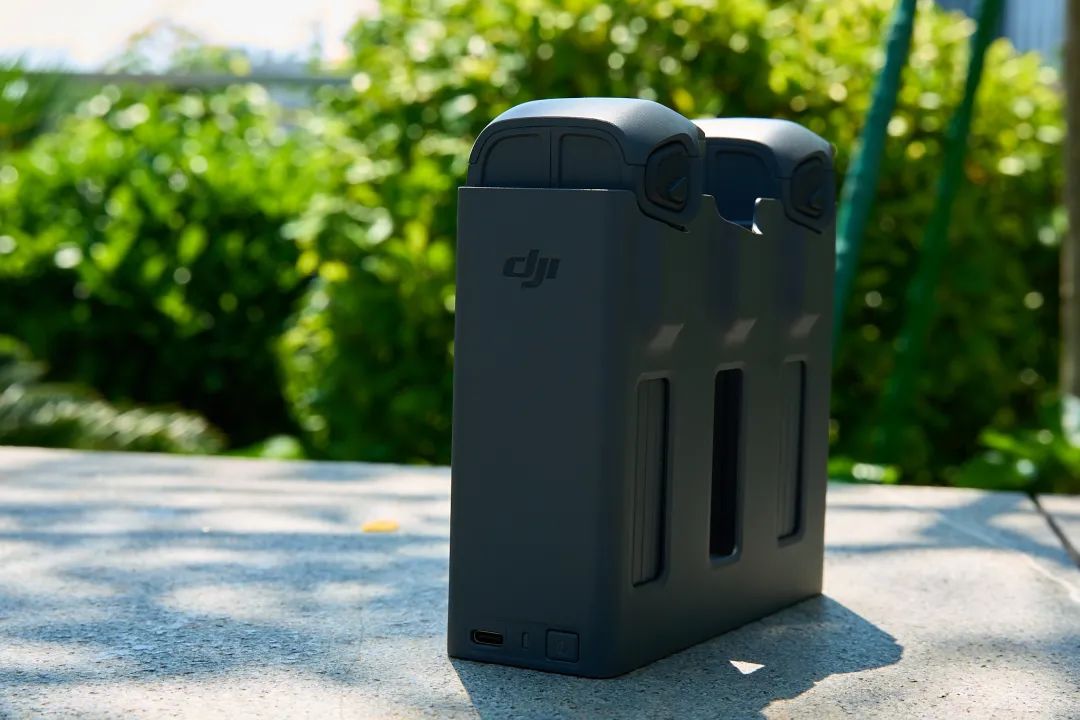
2.Long battery life, and with the new charging hub, it supports continuous charging cycles.
3.Excellent obstacle avoidance and tracking capabilities, performing well even in extreme scenarios.
4.Numerous intelligent features make it easy for beginners to shoot professional-quality videos.
The Standard Edition (includes the drone, RC2 remote controller, and one battery) is priced at 13,888 RMB; The Fly More Kit (includes the drone, RC2 remote controller, enhanced video transmission, three batteries, charging hub, shoulder bag, and one DJI Enhanced Video Transmission Module 3) is priced at 17,888 RMB; The Creator Combo (includes the drone with built-in 512GB storage, RC2 Pro remote controller, enhanced video transmission, 240W desktop charger, two DJI Enhanced Video Transmission Modules 3, shoulder bag, and three batteries) is priced at 23,988 RMB.
